Our Artificial Grass Installation Process – How To Install Artificial Grass
Watering the grass can be a real headache, not to mention expensive. But what if you never had to water your lawn again, yet could still enjoy a lush, green, natural-looking yard all year long. In fact, what if you could do that and never even have to mow it again, either? Well, you can, and it’s much easier than you might think thanks to one of the top synthetic turf installation companies in Texas. We provide our customers throughout Texas with beautiful, durable, and high-quality artificial turf installs that drive neighbors crazy with envy!
Ideal Turf has been one of the leading names in artificial grass product installations in Texas for years. With decades of combined experience, we know what our customers are looking for, and we do everything we can to deliver a quality turf installation each and every time. Your satisfaction is our top priority, and we’re not done with a project until you’re happy with your new artificial turf lawn or landscape. In addition to premium-quality artificial grass, we use the latest installation techniques as well to ensure longevity. You can comfortably enjoy your evergreen, maintenance-free, faux lawn for up to 20 years!
Our installation crews are highly-professional and polite. We are artificial turf specialists and we take pride in creating jaw-dropping artificial grass installations. One of the greatest advantages of choosing Ideal Turf to install your artificial grass is our years of experience designing and installing turf for customers throughout Texas. To get an approximation of what a new artificial turf or putting green installation will cost, check out our artificial grass cost calculator.
Synthetic Turf Installation – How To Install A Fake Grass Lawn
Step #1 - Pre-Installation
The crew will arrive on the scheduled installation day and the project supervisor will walk the project area with you. The project supervisor will ask you about Sprinklers, Pipes, and Wiring or anything else that will need to be covered or protected during the installation process.
Step #2 - Remove Existing Grass
The crew will begin the installation process by removing the existing natural grass sod using a machine known as a “Sod Cutter.”
Step #3 - Load Sod Onto Trailer
The sod is then loaded into a trailer using wheelbarrows and shovels.
Step #4 - Install "Poly Board Edging"
Existing edging such as a Fence, Sidewalk, Curb, or Patio will be used to secure the base material. If there is no existing edging, the crew will install “Poly Board Edging.”
Step #5 - Install "Weed Fabric"
The crew will roll out and install “Weed Fabric” to prevent the growth of weeds.
Step #6 - Add "Base Material"
Using wheelbarrows the crew will bring the turf’s “Base Material” to the installation site and spread it evenly using a rake.
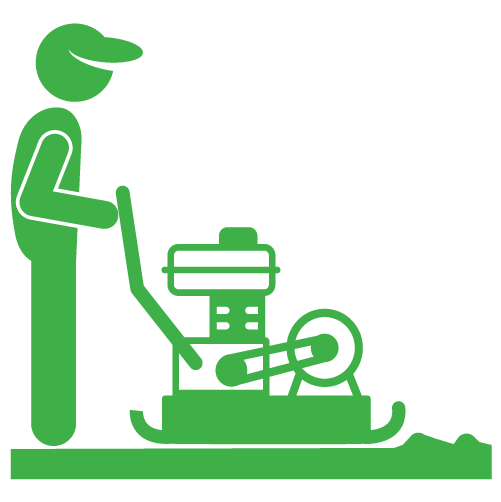
Step #7 - Compact Base Material
Once the base material is evenly distributed a crew member sprays the “Base” with water while another uses a “Plate Compactor” to compact the base.
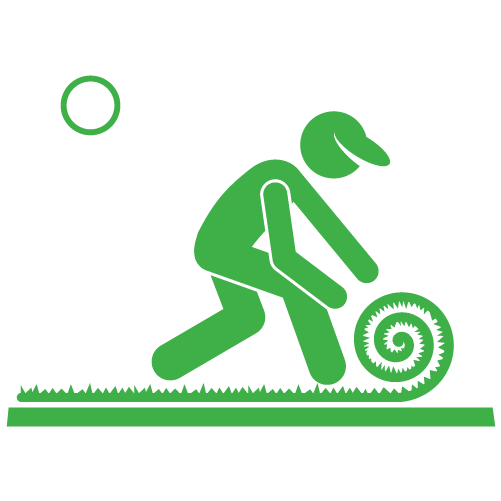
Step #8 - Roll Out Artificial Grass
The crew will roll out the artificial grass and then cut it to fit the installation area. The turf will be secured around the edges using 6 inch “Landscape Staples,” while the seams will be secured using “Seaming Tape & Glue”
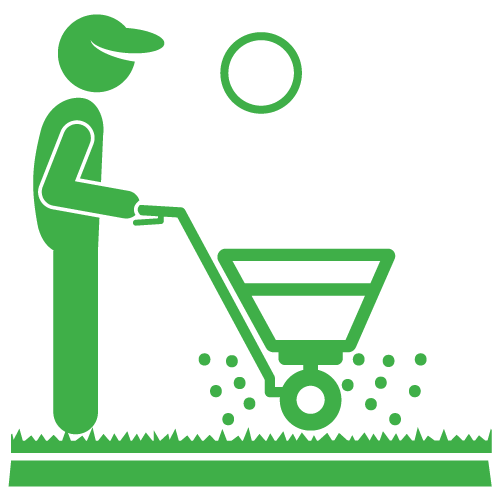
Step #9 - Add Infill
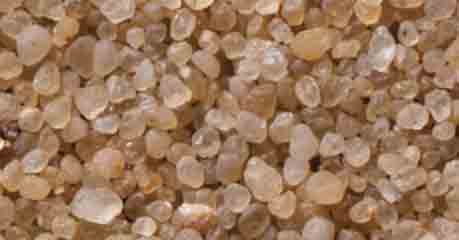
The crew will add “Rounded Silica Sand Infill” using a drop spreader. Ideal Turf uses a “Rounded Silica Sand” infill with our artificial grass products. This helps weigh the turf down to prevent bucking or wrinkling, and helps the turf fibers stand up straight. Additionally, the rounded silica drains more efficiently than other infills, allowing water to flow past the rounded edges.
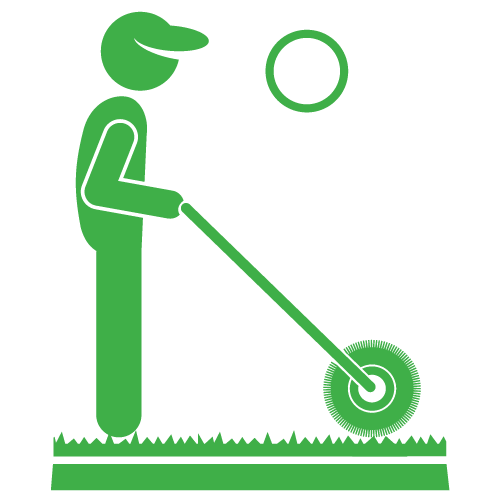
Step #10 - Brush Turf With "Powerbrush"
A crew member will then go over the artificial turf installation using a “Power Brush” to give the artificial grass a finished appearance.
Step #11 - Review Your Artificial Grass Lawn
The project supervisor will walk the completed artificial grass installation with you to review your new artificial grass lawn. Once finished you and the project supervisor will both sign a “Certificate of Completion.”

Step #12 - Enjoy Your New Artificial Grass Installation!
Start enjoying your brand new artificial grass installation!
Why Is Drainage So Important To The Artificial Grass Installation Process?
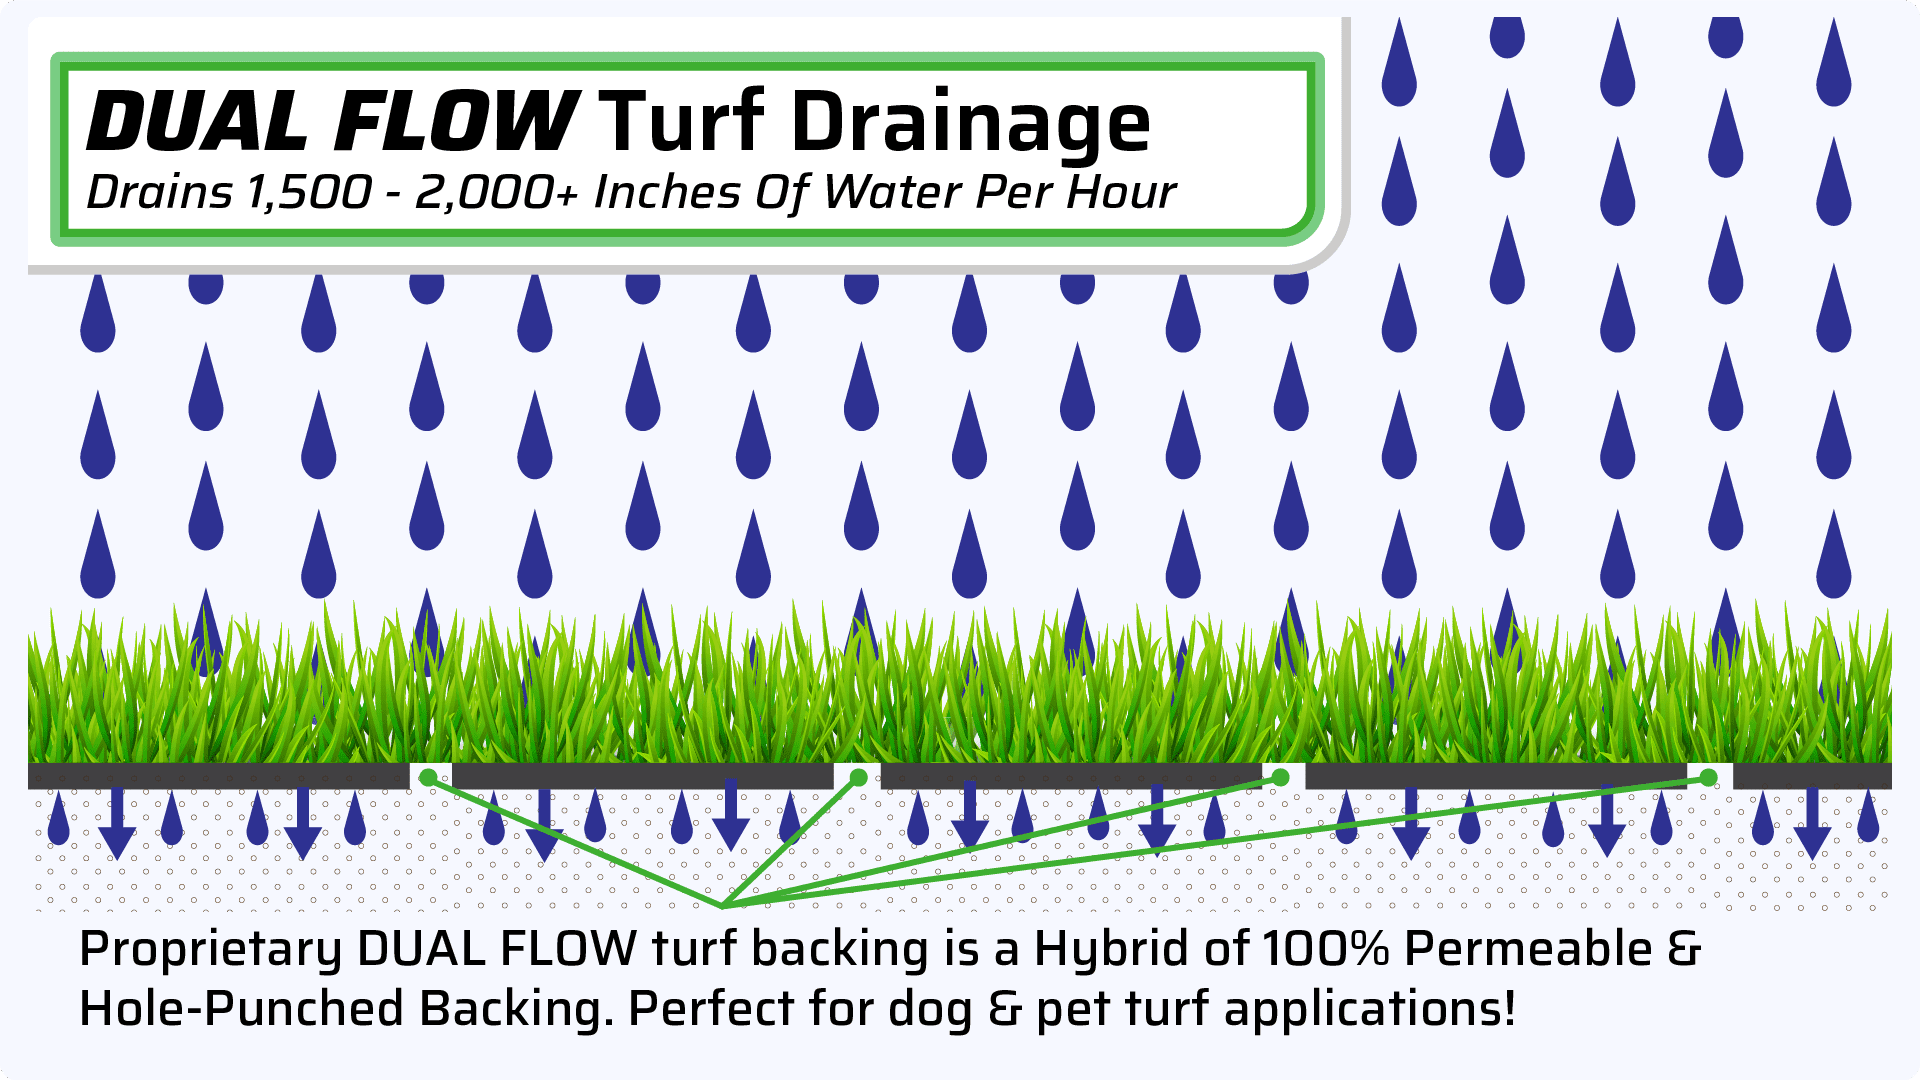
Every component of the installation process has been carefully selected to ensure maximum drainage and to allow water and urine to flow through the sand infill, artificial grass, and the sub-base into the earth.
Our Hybrid, DUAL FLOW Turf Backing
A vital part of the installation process is ensuring that water and pet urine will easily pass through the turf and into the sub-base. Below are the individual components that make up our DUAL FLOW backing system.
1. SUB-BASE
Before installing your artificial grass, we first have to prepare the area to ensure that the sub-base will wick away any liquid that passes through the artificial turf. Ideal Turf uses crushed limestone for the Sub-Base because of its superior drainage capabilities.
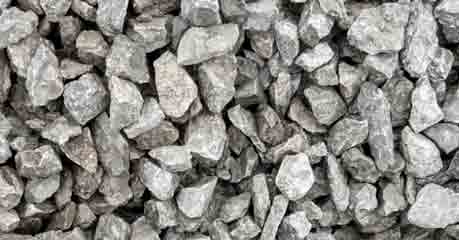
2. ARTIFICIAL GRASS BACKING
Ideal Turf’s artificial turf drainage system beats all other drainage systems by 10 fold. Draining over 1,500 inches per hour allows water and urine to pass right through the turf.
A completely permeable backing consisting of 1000’s of microscopic holes allows liquids to flow through any point in the turf’s backing.
Our superior drainage system is what makes our synthetic pet turf the best fake grass for dogs. Whether you’re looking to replace your natural grass lawn with synthetic turf or create a dog run, drainage is an essential component.
3. ROUNDED SILICA SAND INFILL
Ideal Turf uses a “Rounded Silica Sand” infill with our artificial grass products. This helps weigh the turf down to prevent bucking or wrinkling, and helps the turf fibers stand up straight. Additionally, the rounded silica drains more efficiently than other infills, allowing water to flow past the rounded edges.
