I’ve wanted a backyard putting green of my own for as long as I can remember.
Every time I have moved houses, I’ve looked at each new backyard and wondered where a putting green would fit.
It’s fun to dream.
And I am pretty sure I am not alone in having that dream, especially amongst our GolfWRX readership full of golf nerds just like me.
I’ve researched it in the past.
I’ve gotten bid estimates but never pulled the trigger.
Until now.
With a three-year-old son growing up, starting to really enjoy the game, it was time to make it happen.
The cost was obviously a big decision point in finding the company I wanted to perform the work.
I had several different companies come out for an estimate, and you’d be surprised at the range of bids I received.
The area I had picked out is a garden just off my back patio, measuring 7.6 feet x 20.5 feet for a total of approximately 150 square feet.
It wouldn’t be huge but big enough for three holes.
The Initial Consult


The other estimates I had received were for this garden as well as potential greens in other areas of the yard, more able to accommodate bigger green sizes, but ultimately I decided that a smaller green just off the porch would get the most use.
And it was obviously more affordable.
Some companies wouldn’t even entertain the garden area, stating their minimum jobs are $5,000.00 for any given project.
That was out of my budget.
A putting green of the size I was hoping for, mind you, measures out to be between $1,500 to $2,600 depending on the turf chosen.
That brings me to the most important decision you’ll make when embarking on a backyard putting green journey: choose your installer wisely based on your comfort with the people.
Don’t just go with the first people you call.
Go with the ones that you feel most comfortable with and who are the most transparent.
I chose a Texas-based company called Ideal Turf.
They were local to me here in Fort Worth, but they provide service to the entire state of Texas and Oklahoma.
They were excited about this location, agreeing that it would be a nice size surface for what I wanted.
That made me feel better.
Some of the present foliage would obviously need to come out, which can be done by a subcontractor that Ideal Turf uses or I could hire someone else or do it myself.
I had the shrubs taken out as well as the Crepe Myrtle tree, but my designer was just fine with me leaving in the Yaupon tree, as he could work around it and give the green some shade and character.
Logan, my green technician, came to the initial consultation with turf samples and a tablet that he could actually use to begin the design right there on the spot.
This was the first company that I had seen do that, which was really impressive to me.


We went through the different artificial turf options for both the putting surface and the longer grass border that would surround the green.
The shape is completely customizable, with hourglass or kidney bean being the most common choices.
I really had three goals in mind.
First, I wanted to maximize the size of the putting surface, knowing that my square footage was already on the smaller size.
Second, I wanted to find the grass that looked really good but would hold up to weather conditions.
Third, I wanted turf that performed as close to a real putting surface as possible.
With Logan’s help, I felt satisfied that Ideal Turf could deliver on all three items of concern.
We started with an hourglass design, but we ended up widening the putting surface at most turns to ensure as large a putting area as possible.
The changes were made to the design app in a matter of seconds.

The turf we went with includes UV inhibitors that are added to the fibers to reduce fading from exposure to the sun.
With quality turf, drainage isn’t a concern either.
Ideal Turf uses a “backing system” that allows for rainwater to drain at 1,500 inches per hour.
Puddling apparently won’t be an issue.

The initial visit and consultation took less than an hour, but a lot got done.
When Ideal Turf was gone, I went ahead and began preparing the space for installation.
The removal of the tree and shrubs needed to include the roots because three inches of the dirt are actually cleared out during the installation process and replaced with a topsoil mix ideal for leveling and drainage.


Installation Day
Ideal Turf was great at communication, with a series of emails leading up to the day of installation.
I was assigned a personal Client Liason (shoutout to Samantha) who was with me every step of the way, from the estimate and design agreement to the coordination of scheduling.
We were able to get the installation scheduled just over a week from the date I signed my contract.
The installers were out to my house at 10:30 am on a Thursday and I was rolling putts before sundown.
As I mentioned before, they cleared the existing dirt out three inches deep and replaced it with that drainable topsoil.
They also marked and capped all existing sprinkler heads in the garden.
That was something I didn’t think much about prior to installation day so I was relieved to learn they would be handling it.


They then wet the topsoil and then smoothed and rolled it.
I decided to not add many undulations to the putting surface since it was a smaller green.
I wanted to make sure I had flat 15-foot putts to practice intermediate strokes.
The crew was able to work around the Yaupon tree we left behind to add some charm to the green.
Next, the Ace Putt 56 putting turf was rolled out over the entire surface and the digital design was used to measure out and trace the green.
Once marked, the green was cut to shape and the border turf was laid to form the edges.
The border rough works great with wedges for short pitches and chips.
Since the green has been installed, I actually turn and chip back into the heart of my backyard off the border grass for longer short game work.


Finally, the green is sanded and rolled to level the surface and make sure the turf is laying smooth and flat.
Three holes were brought out and I was asked to design their placement myself.
I was my own yard’s Gil Hanse for about 25 minutes, walking the entire surface several times with putter in hand, rolling balls, deciding how I would like my own course to be routed.
It was a ton of fun.
I ended up going with a more Golden Age design.


The holes are traced, cut, and then hammered into the earth.
I did appreciate that a bit of extra attention was given to the hole installation so that they fit flat and clean with the turf around them.
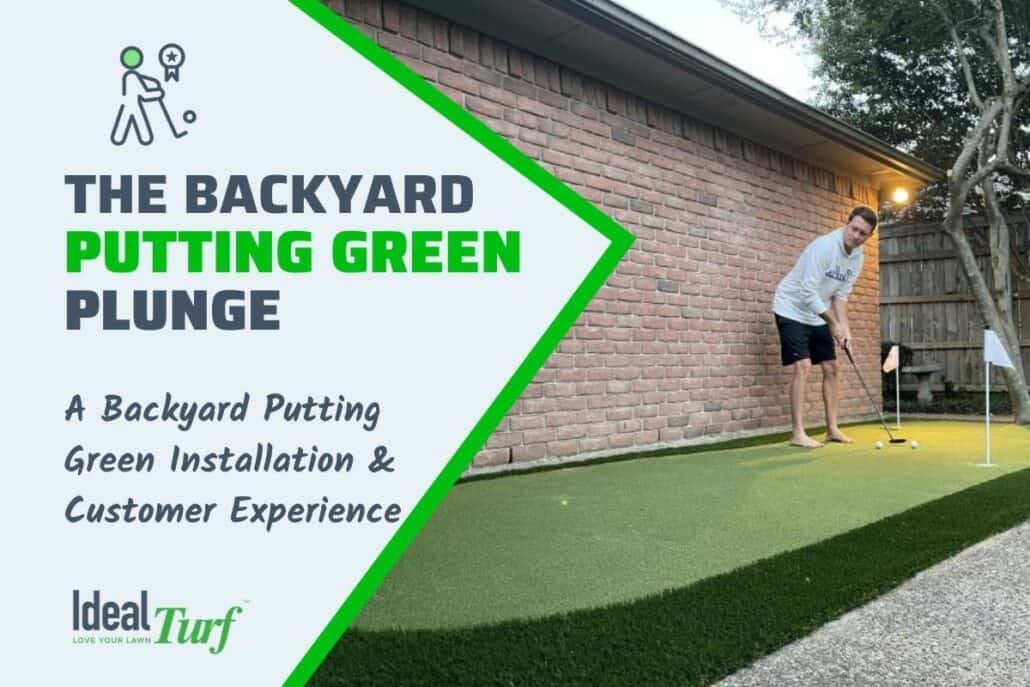
And that’s really it…the green is ready for play!
Ideal Turf provided three pins and flags for the finishing touch.
In less than two weeks from consultation to installation and less than eight hours for installation, the process went incredibly smoothly.


Maintenance has been a breeze, as a broom and leaf blower is pretty much all you need to keep it looking perfect.
The installation itself came with a one-year warranty from Ideal Turf, and a twenty-year product warranty for the turf itself.
Check with whoever you decided to use for something similar.
It’s been several days now and I’ve had time to enjoy the green at different hours of the day.
I wake up, walk out with a cup of coffee with just the dog, and enjoy some quiet time before the sun comes up.
The kiddo also loves to “practice golf” before bedtime, a delay tactic I’m happy to entertain.


Time will tell how much use the green will get as my son gets older, backyard parties are had, and the shine of a “new toy” begins to wear.
But I guess the point of all this is to simply say that a backyard green is possible for all of us.
There are good companies out there that aren’t trying to just take all your money.
So far, I couldn’t be happier with the decision we made as a family to embark on this putting green adventure.
Here’s to many sunken putts ahead.


Final Thoughts on Taking The Backyard Putting Green Plunge
If you’re interested in an artificial grass backyard putting green installation in Texas or Oklahoma, please contact Ideal Turf today!
If you are ready to get started, we recommend you explore our website a bit.
There are a lot of specifics to understand about artificial grass and backyard putting greens.
The first step to creating a flawless, maintenance-free lawn is to educate yourself on the many features and options available.
Learn about:
- Turf Drainage
- Infill Options
- Antimicrobial Technology
- How To Measure For Turf
- Installation Process
- Turf Maintenance & Cleaning
- Financing
- Artificial Turf vs. Real Grass Putting Greens
We have artificial turf products for every situation, free quotes, and world-class customer support.
Let’s get an expert on your side to help you put together the perfect installation plan.
We have teams of the best artificial grass installers located throughout Texas and in Oklahoma.
At Ideal Turf, we truly believe artificial grass is worth the money, and we are happy to help you explore this decision by answering any of your questions before buying turf.
Get your FREE Estimate by clicking “GET A QUOTE” button or feel free to give us a call at 800-204-4650.